

Adding the Channel |
When you have finished configuring the channel and its source and destination components, you are ready to add the channel.
To add the channel, click Add Channel, located at the bottom of the Configure Channel screen.
|
If your channel uses a database as either its source component or its destination component, you must ensure that the database tables that this component requires are specified in your database. From Iguana, you can export these database tables directly to your database. For more information, see Exporting the Database Tables. | ||
 |
If Iguana detects an error when it adds the channel, it will display a warning in red, and an error icon will be displayed in the tab for the component that contains the error. For example, here is a channel that contains an error in the Destination component:
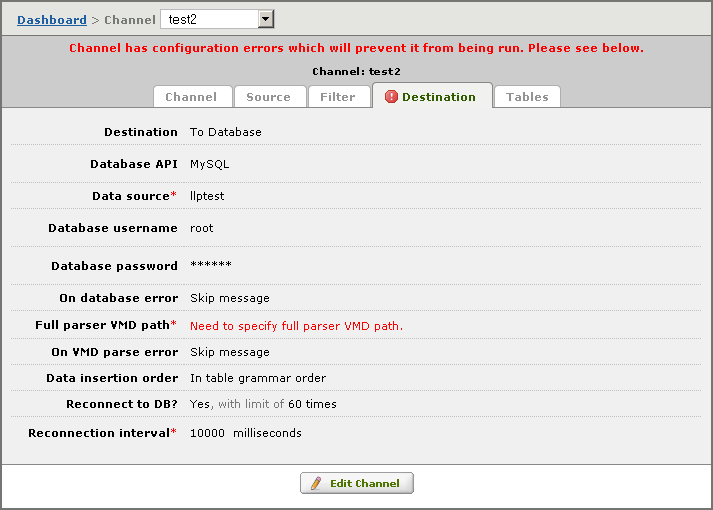
Click on the tab to display the error, and click Edit Channel to correct it.
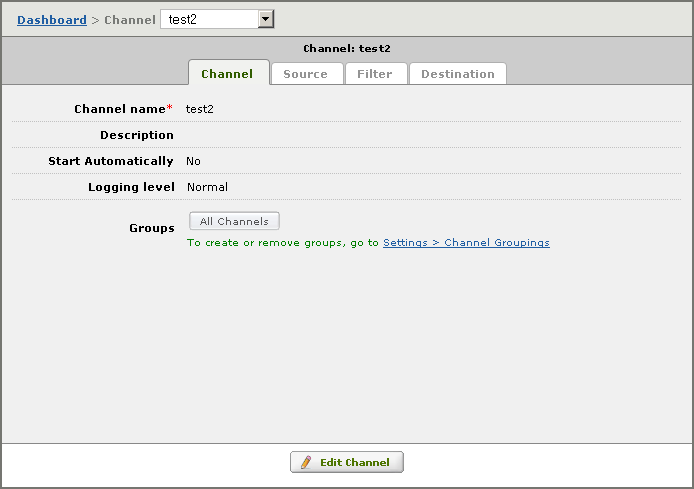
If no error is detected, you will see a screen that looks like this:
| The Tables tab only appears if your channel uses a database as its source component or its database component. See Exporting the Database Tables for more details. | ||
|
If you need to create another channel, select [Add Channel] from the Channel list box:
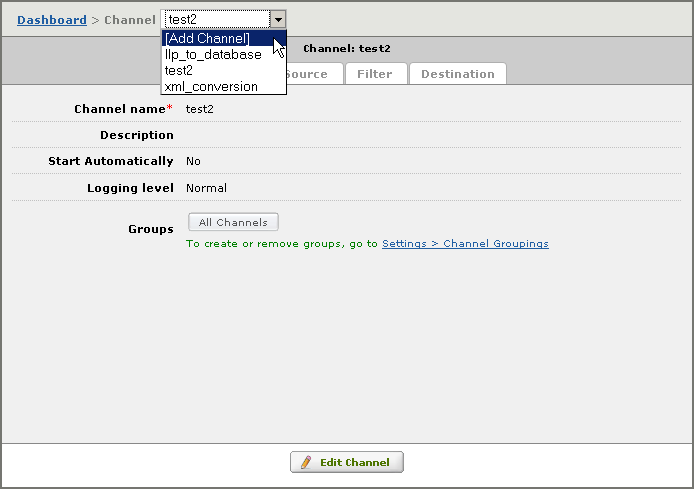
This displays the Add Channel screen. This screen is described in Selecting the Channel Components.
|
You can also use the Channel list box to display the channel configuration for any channel. To display the configuration for a channel, select its name from the Channel list box: 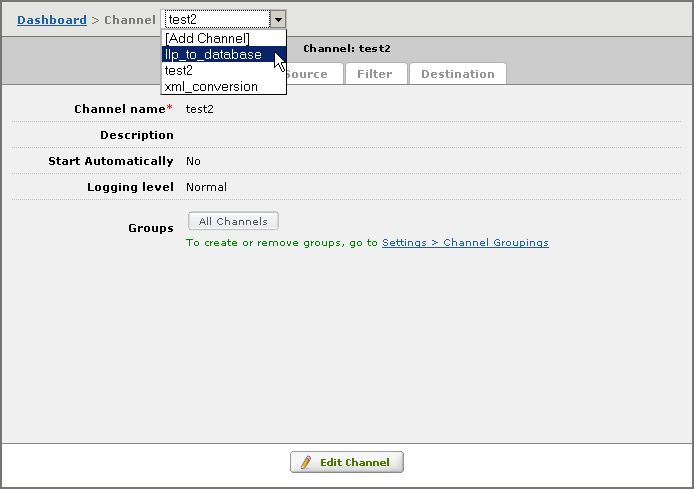 | ||
 |