
Creating the Table Mappings |
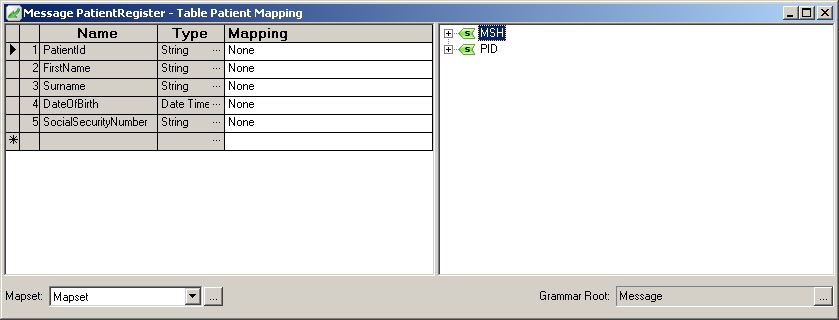
When you define the grammar root for your table, the Table Mapping window appears:

The left pane of the Table Mapping window displays the Column Name and Data Type fields from the Patient Table you defined earlier; here, these fields are displayed under the headings Name and Type. There is also a new column called Mapping. The right pane displays the segments you included in the message's segment grammar.
In this part of the tutorial, your task is to associate fields in the segments with the entries in your table. To do this, drag fields from the right pane of the Table Mapping window to the Mapping column.
- In the right pane of the Table Mapping window, expand the PID segment, and expand field 3 (Patient Identifier List).
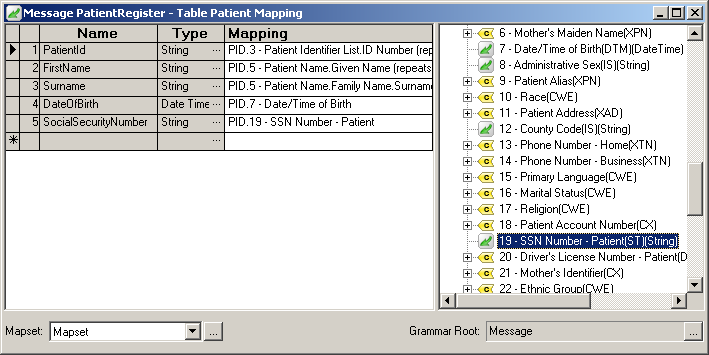
- Drag the 1 - ID Number field to the PatientId row of the table.
- Expand field 5 (Patient Name) of the PID segment, and drag 2 - Given Name to the FirstName row of the table.
- Expand subfield 1 of field 5 (Family Name), and drag its first subfield, 1 - Surname, to the Surname row of the table.
- Drag field 7 of the PID segment, Date/Time of Birth, to the DateOfBirth row of the table. Note that this field is of type DateTime.
- Drag field 19 of the PID segment, 19 - SSN Number - Patient, to the SocialSecurityNumber row of the table.
After you have completed the mappings, your table should look like this:

Completed Table Mappings
The next step is to test that your mappings are correct.
- Return to the Message Browser, and ensure that the sample message is still in the upper pane.
- Click the Parse button. This instructs Chameleon to check the message structure and perform the mappings into your table.
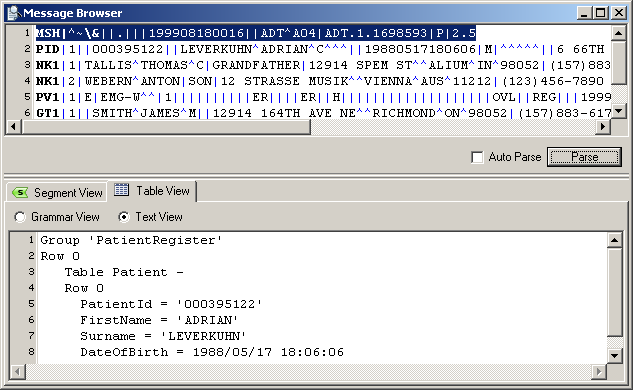
- Click the Table View tab and the Text View button. You should see the following:

Table View Tab, Showing Parsed Message
The data that you specified has been extracted from the sample message.
At this point, you have completed the process of mapping data from your HL7 messages to your tables. The next step is to make this data available to an application.